Disclosure: Some of the links below are affiliate links. This means that, at zero cost to you, I will earn an affiliate commission if you click through the link and finalize a purchase.
I remember the time when I first sat in a go-kart. It was in the early 1980s, and my parents had gotten a big, yellow go-kart for me from the older boy next door, and a small, red go-kart for my little sister from his younger sis. They were a bit rusty, and they were quite hard to pedal, but I have many good memories of that time racing up and down the street. The only thing that made me sad was that I would rather have had the red one, but my knees hit my chin when I tried to sit in it, since I was a thin, long child and did not fit into it.
So I think at 3.5 years old, Lyons Cub is ready for his first go-kart. He already has a push trike and a push bike, and since Early Intervention and I have always been working with him on gross motor skills, he became a very active, sportive little guy, and it’s time for something more advanced to get a good workout. He sat on my lap, and we looked at different go-karts from myToys on my laptop. He immediately liked the John Deere tractor, so it was going to be that one. It’s made for 3 to 5-year-olds, which fits perfectly.
It can bear up to 30 kg (66.14 lbs) and fits a body size of 80-120 cm (31.5 – 39.4 inches). My son is about 15 kg, so he has ways to go.
I still had a 20 EUR coupon for myToys from my PayBack points I’d faithfully collected on each grocery shopping day, so I put it to good use. In addition, it was 7% off at the moment!
Two days later, a pretty box with turquoise hearts on it arrived at our door steps, and Lyons Cub helped unpack it:
Building the go-cart was quite simple (the instructions were well written and illustrated), plus I used the installation guide YouTube video from BERG. Nothing could go wrong this way. A little tip: make sure the profile of the wheels is exactly aligned as shown in the instruction manual! We weren’t careful and put the wheels on in the wrong direction at first. However, there’s no problem in taking off the yellow plastic wheel caps again (they have a tiny slot to put a knife in to loosen them) and exchange the wheels.

The only problem I had was with the spacer, which is supposed to fasten the handle at different heights. It was so tight that I couldn’t pull it over the rod, but I used a claw hammer to widen it a little bit, and voilà! it fit like a charm.
At first, Lyons Cub got to unpack all the different parts, and we put similar ones, like the four tires, on one pile. Except for the zip ties, he was able to cut the packing material apart (he uses both hands on the big scissors, but his child’s scissors, he can hold in one hand). He put a lot of effort in getting all the Styrofoam and cardboard off. We will be using parts of those for his hamster maze that he wants to build for his toy hamster. The rest is going into the recycling boxes for cardboard and plastic. Lyons Cub is learning how to recycle early on.
Then, he learned how to unscrew and tighten screws. He also tested out the distance of the seat. I put the saddle on the biggest setting of three possible ones, the furthest away from the pedals (turned out it was just right that way for his leg length), and the handle bar on medium (that was too low; I set it higher afterwards, so he wouldn’t have to bend his back that much). The tools were all included in the package; there’s no screwdriver needed, everything is assembled with two differently-sized Allen keys and a wrench.
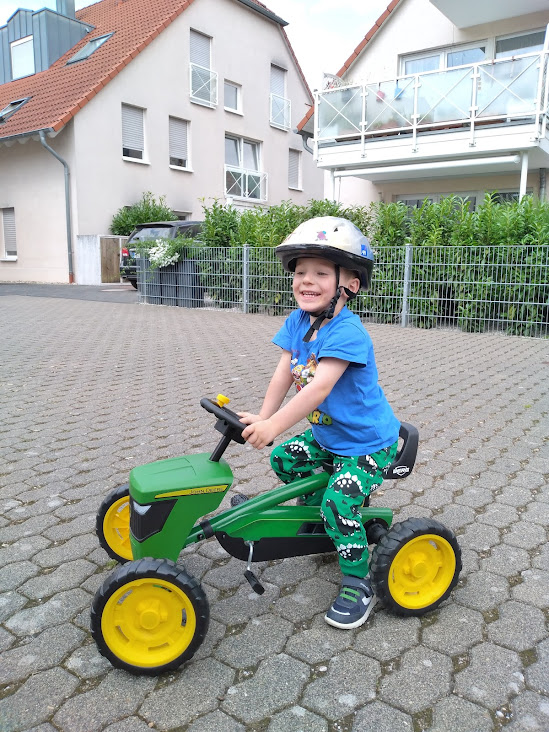
When we were done, we did a test run at a playground. Of course, Lyons Cub wore a helmet!
The John Deere tractor drives very well, is sturdy, doesn’t tip, and goes fast (even backwards)! The yellow button on the steering wheel has no function, though. There is no hand brake and of course, no horn (tractors don’t have horns). Luckily, there are no sounds and music, either. It’s really a tiny replica of a real tractor. I don’t think this model is made to pull a cart (but you could fasten one with a rope to the seat handle).


